
After sailing 25,000+ nautical miles on Ticket to Ride, plus the 20,000+ miles sailed on Let It Be, one might consider Frank and me pretty accomplished sailors. But the fascinating thing about the sailing and cruising life is that, regardless of how long you live it, you continue to learn and improve your skill set.
Learning to navigate the islands of French Polynesia, especially the atolls of the Tuamotos, is a perfect example of how our knowledge and ability for sailing and living on a sailboat continue to grow…
Anyone who researches sailing in the Tuamotos quickly reads about three influential factors: 1. ‘Passes’ which are entrances and exits to the atolls, 2. Traversing atolls, which are littered with coral and rock bommies, and 3. Floating your anchor chain.

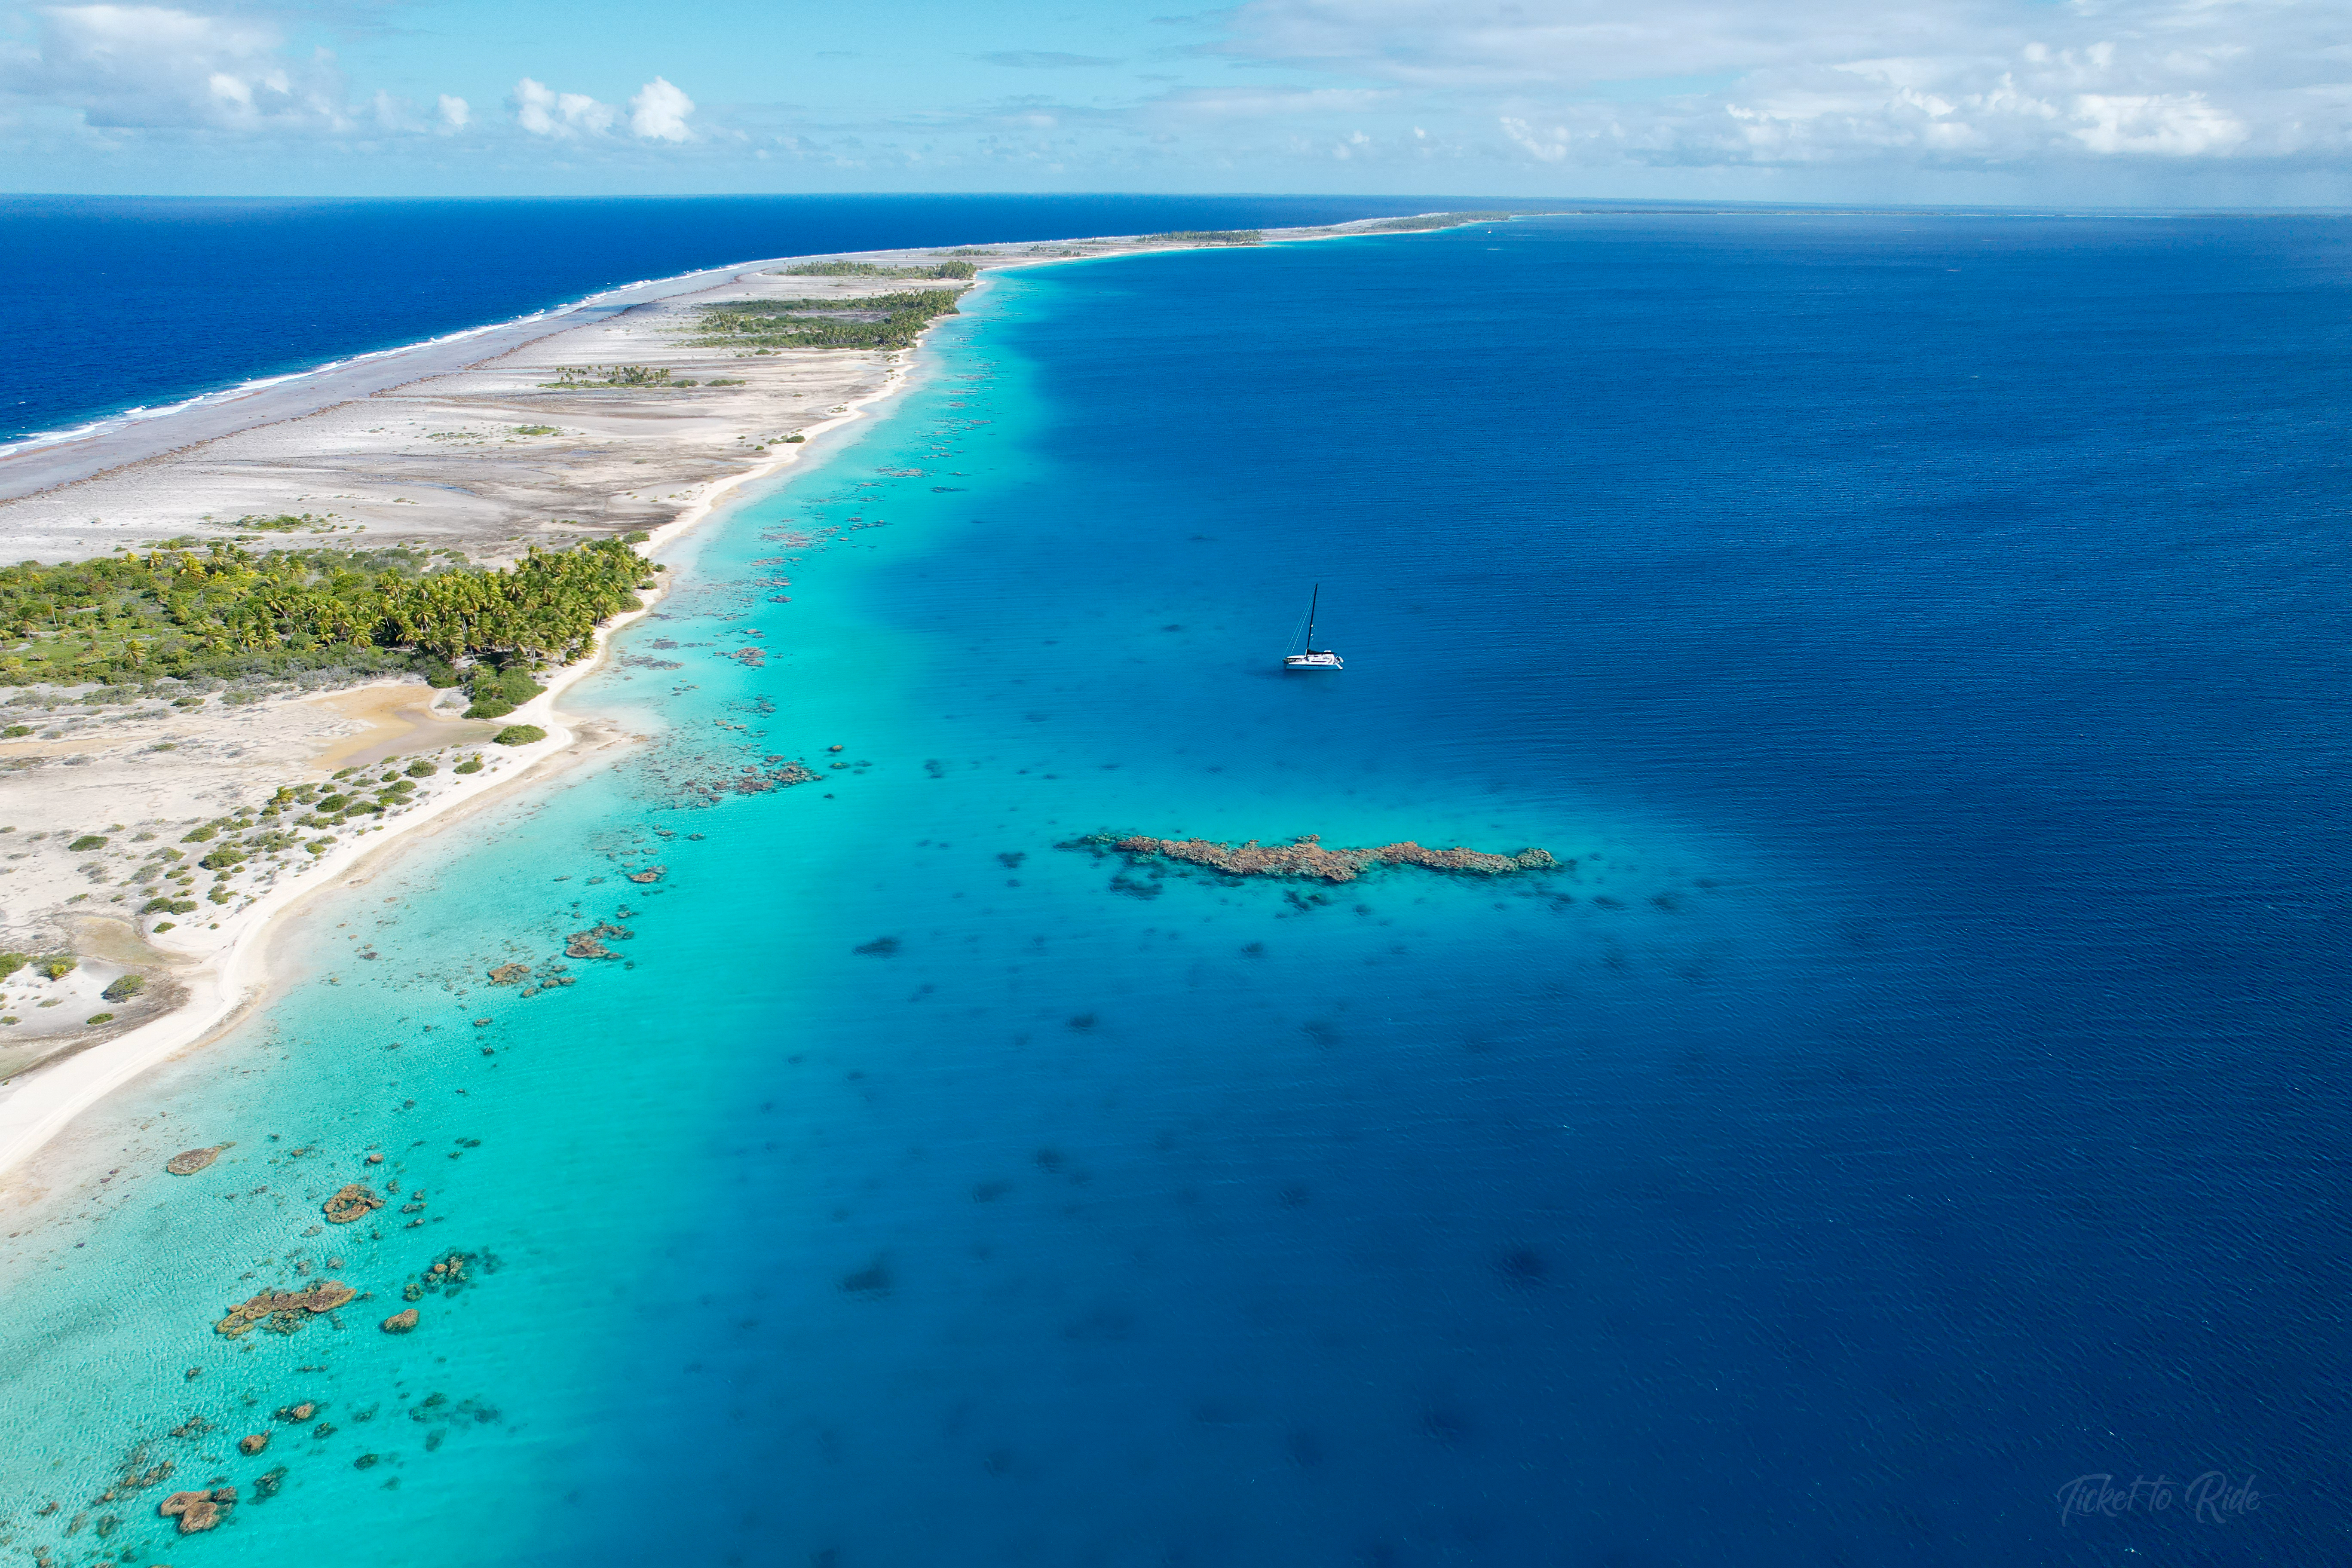
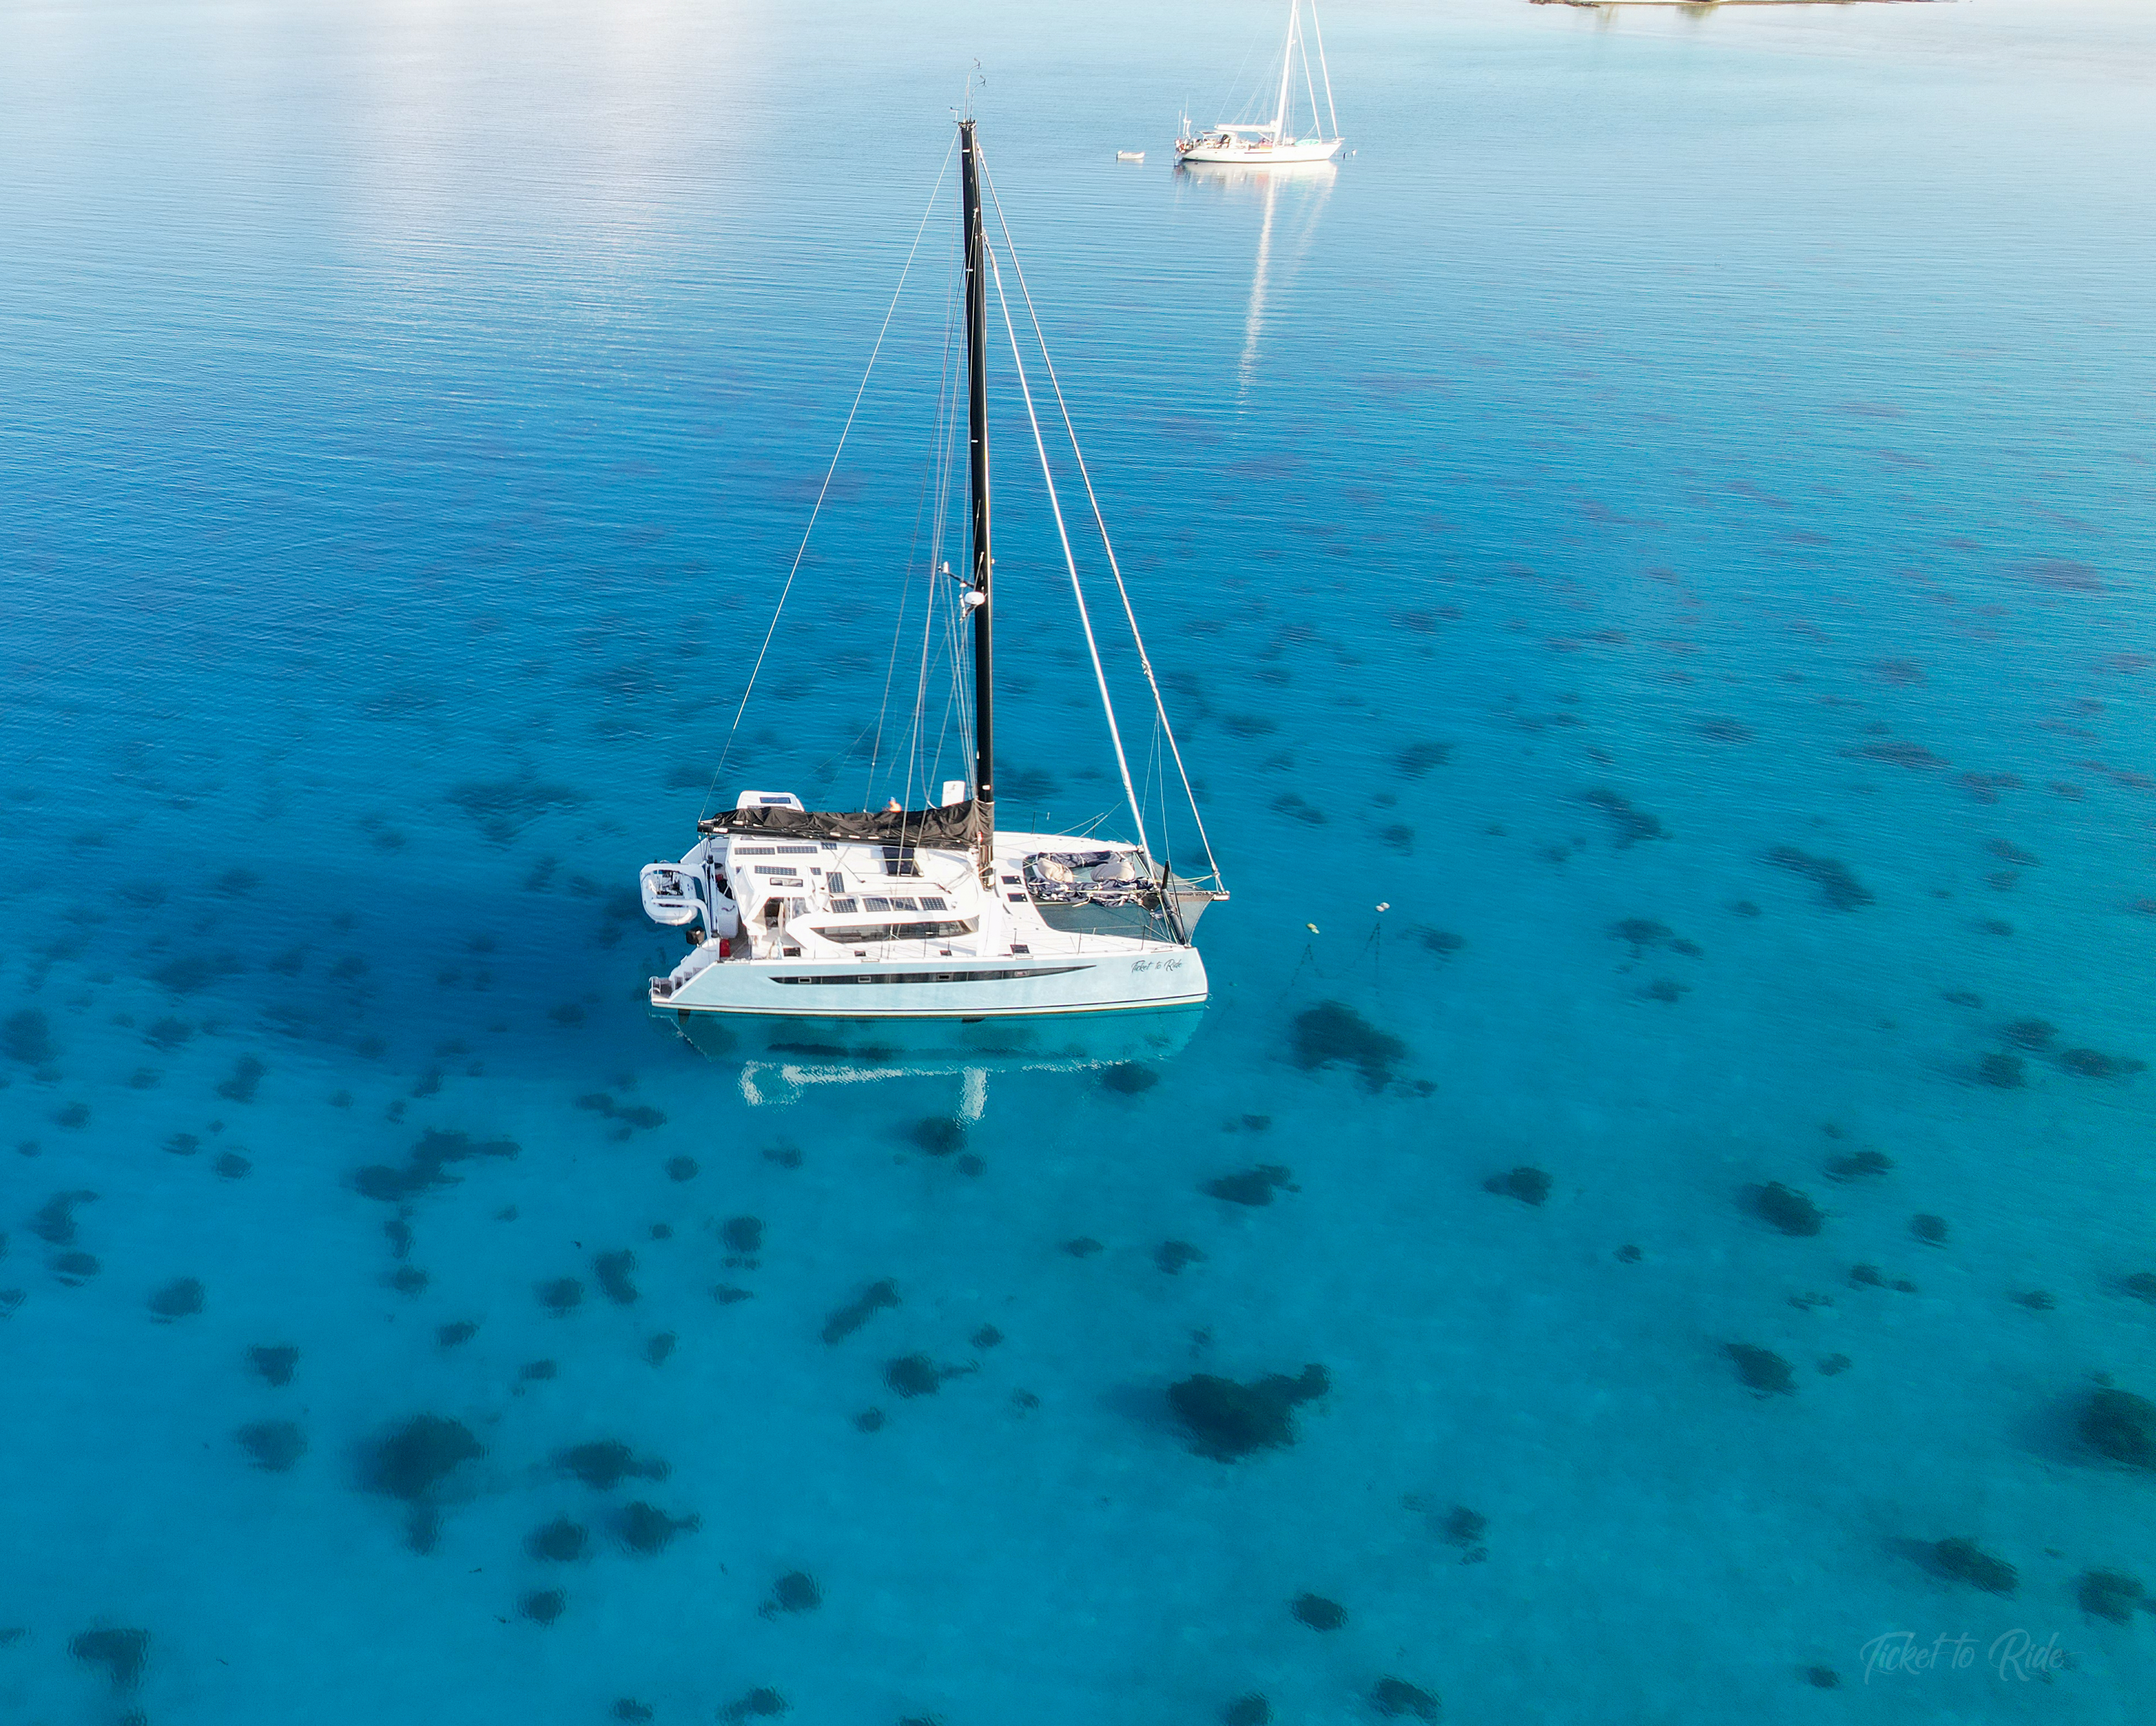
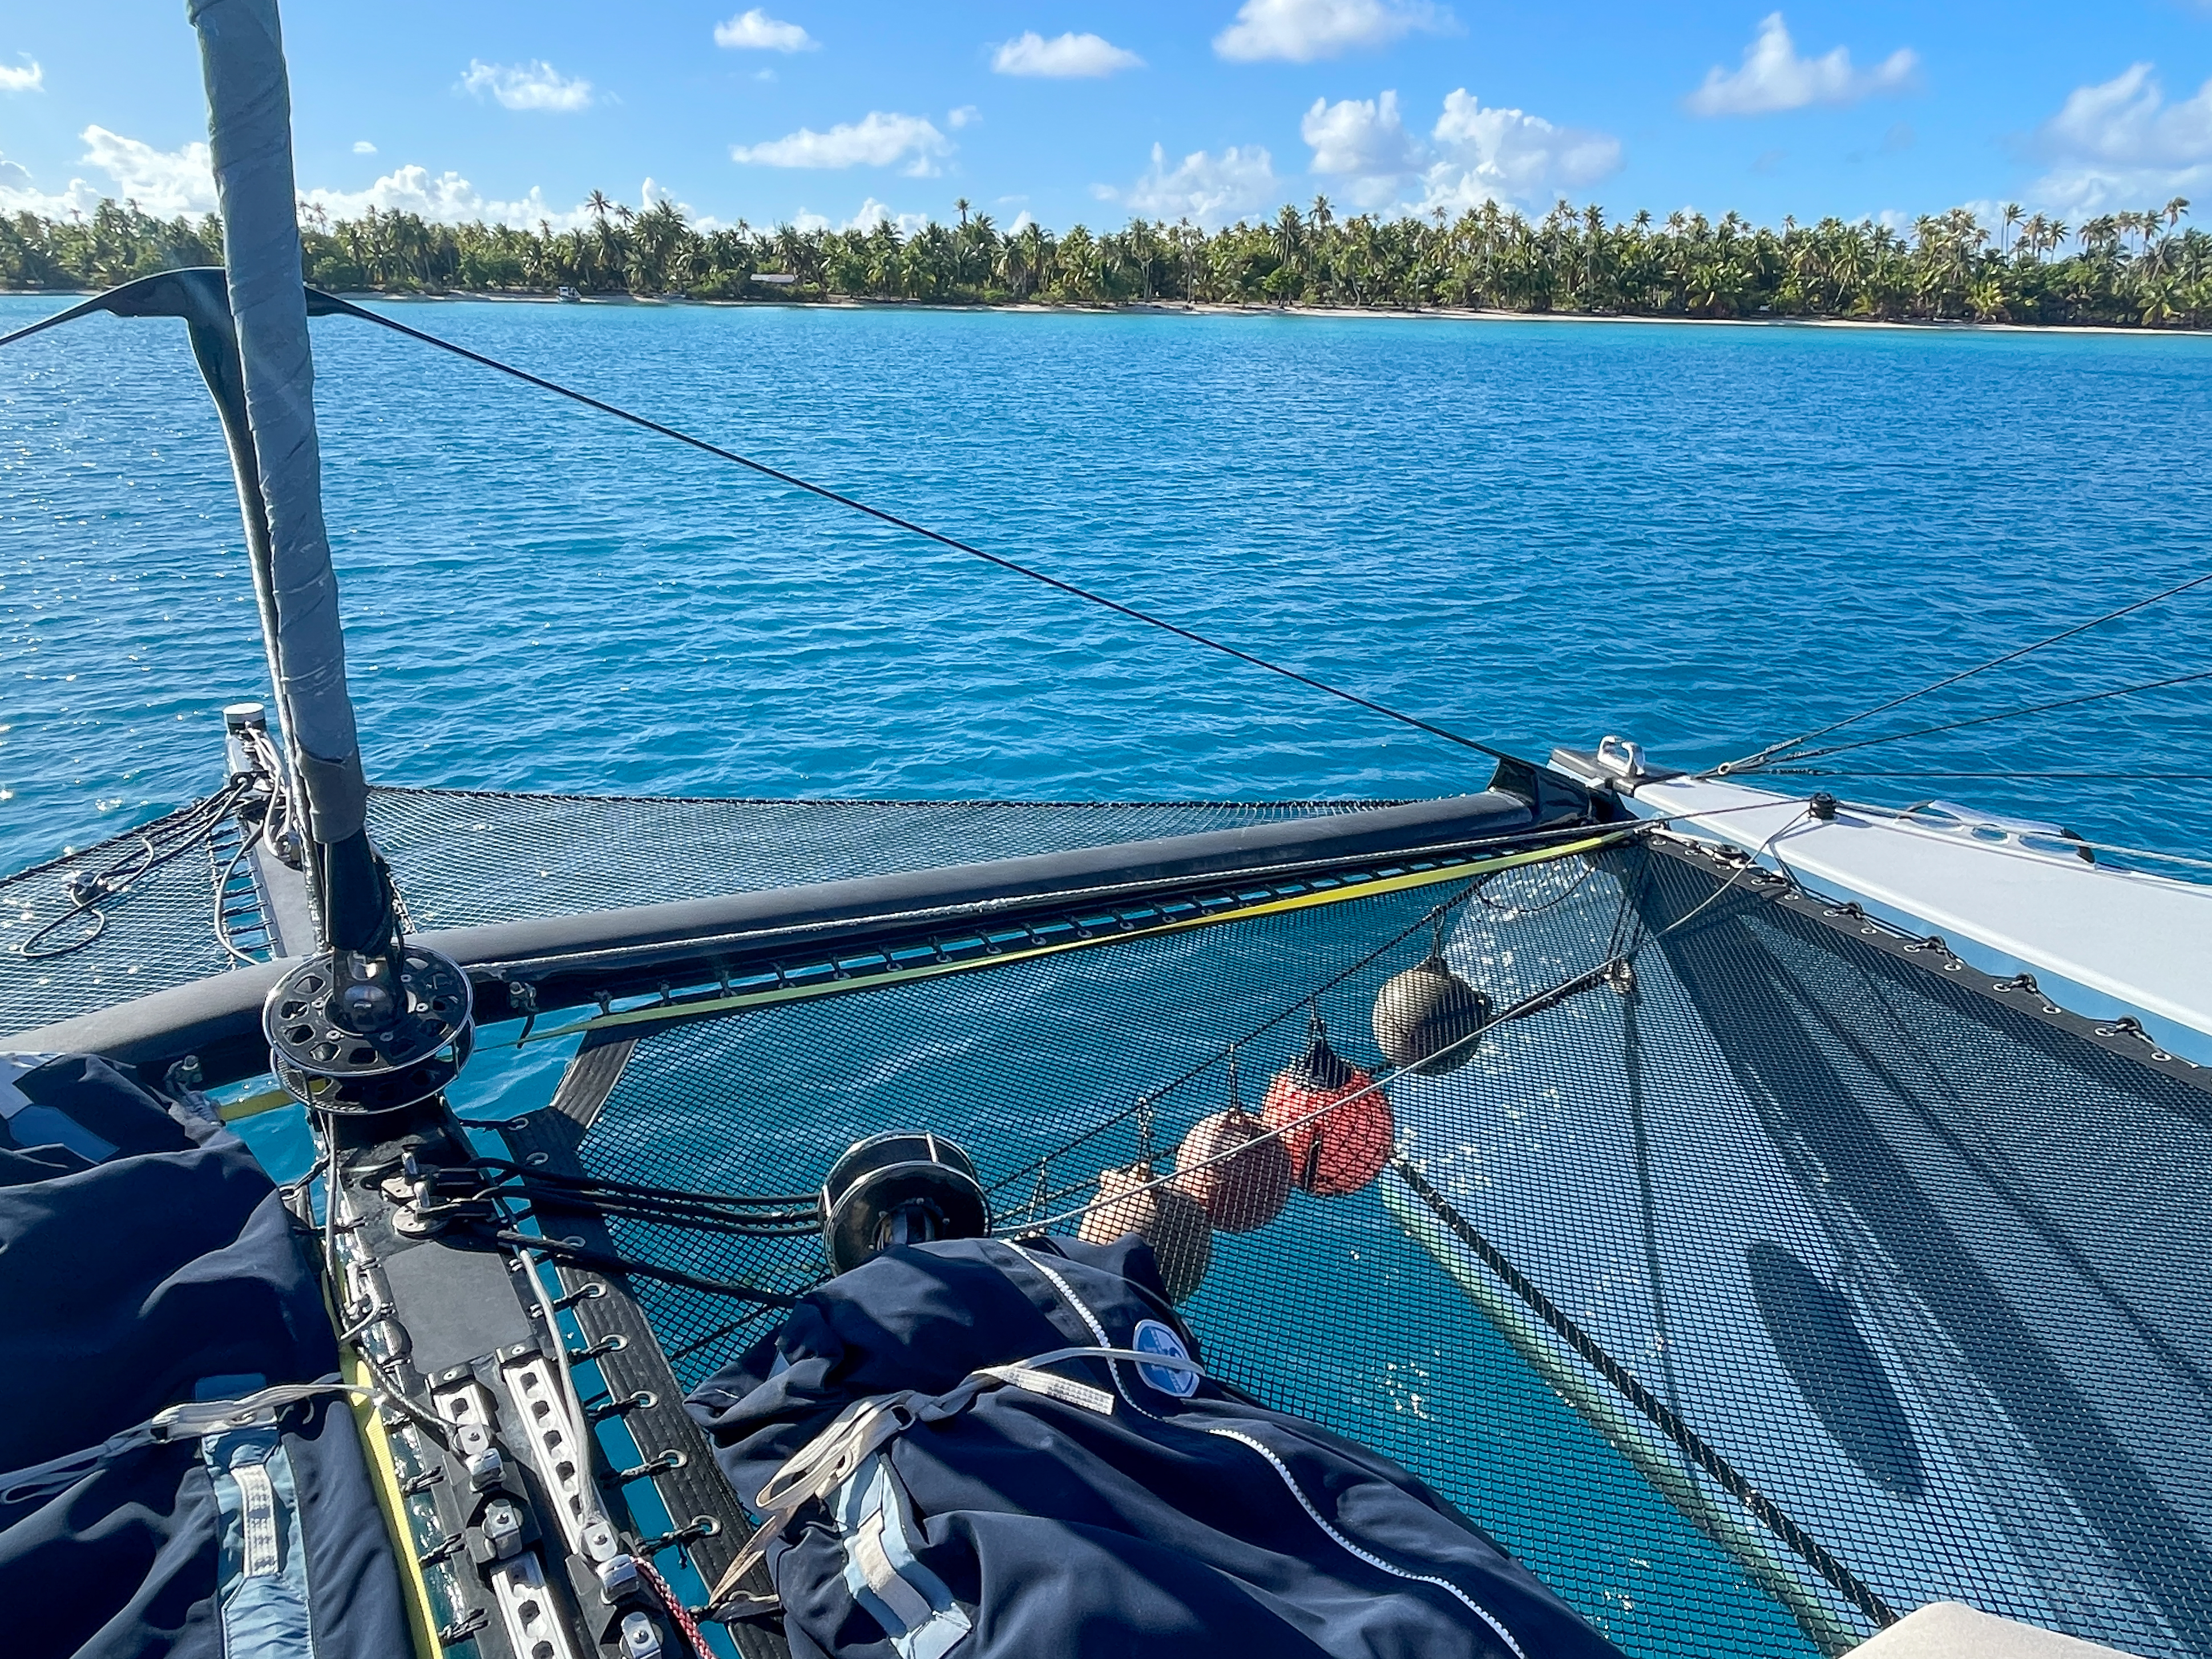
Initially each of these can sound very intimidating and could discourage sailors from exploring the Tuamotos, but we like to look at challenges as opportunities to learn and improve our proficiency. Also, after seeing the pictures below of an atoll, who wouldn’t want to find a way to visit some, especially in the comfort of your own floating home?


Very few sailing books about the Tuamotos are available, but the cruising community has some extremely organized and helpful folks who have written and compiled a good amount of information about their personal experiences here in French Polynesia. These compendiums are often regularly updated and they are invaluable resources when preparing to sail in French Polynesia. These are a few excellent compendiums if you are interested: Jacaranda Journey, Soggy Paws and Pitufa

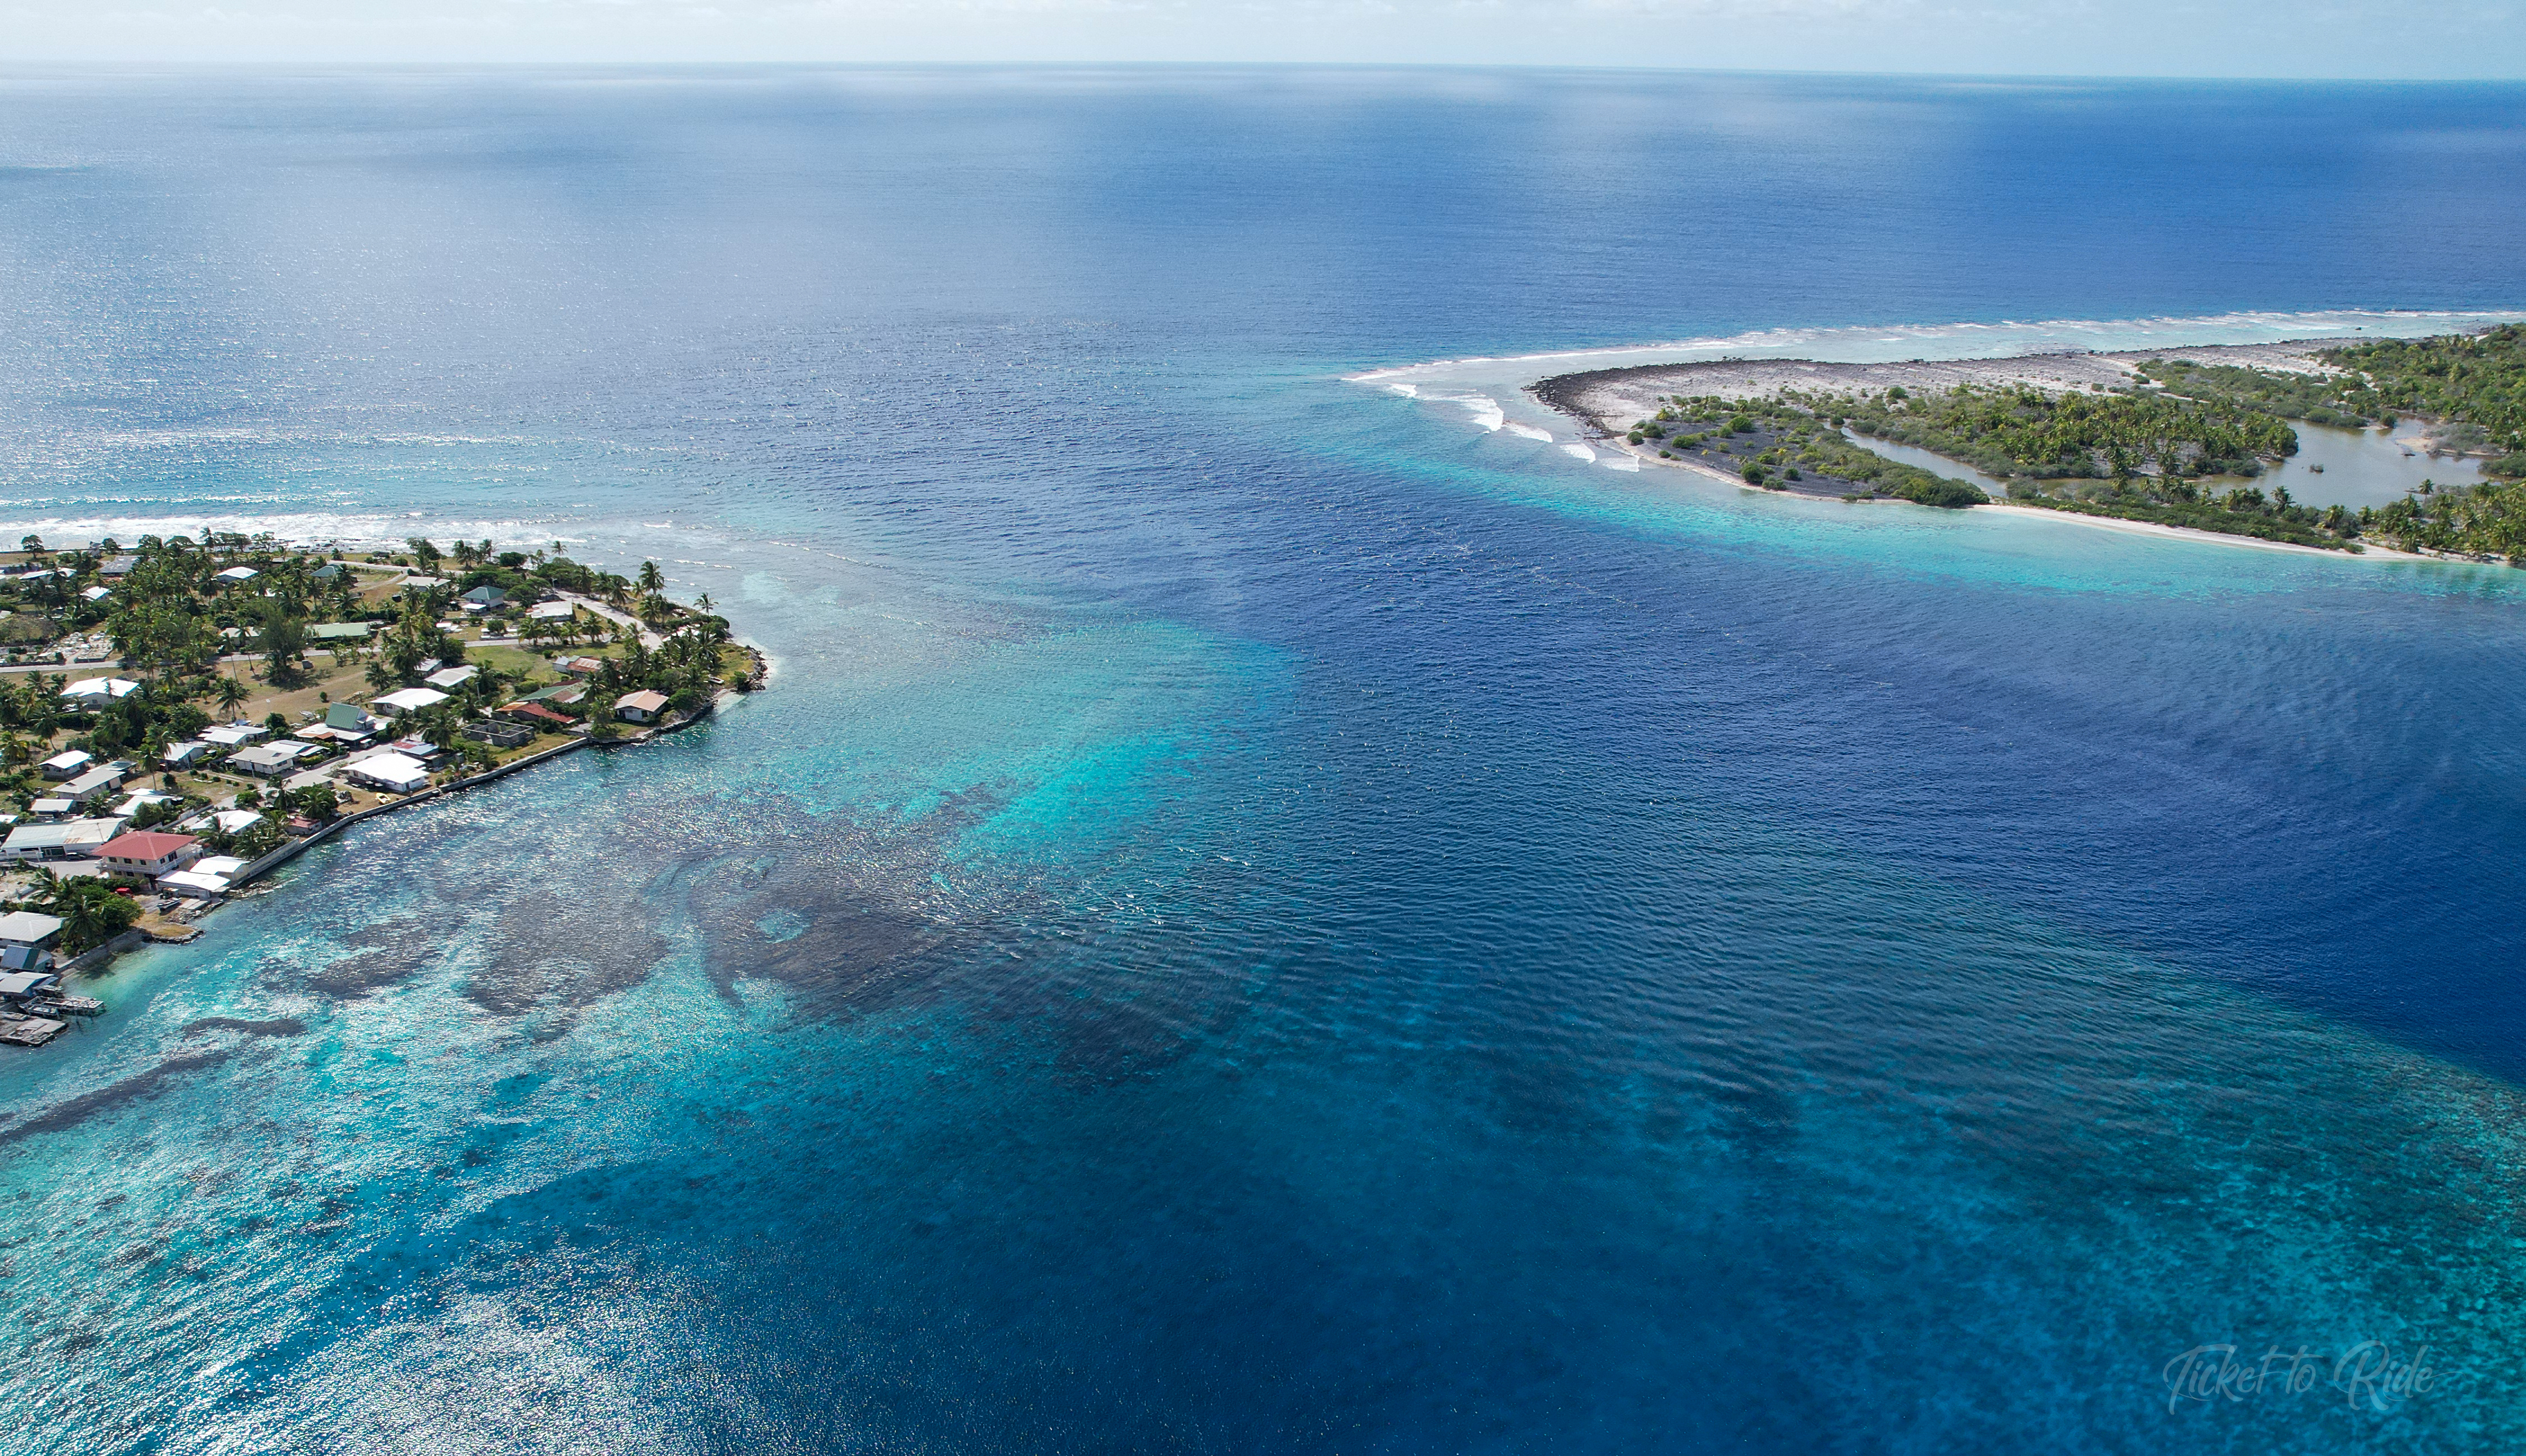
PASSES: When perusing the compendiums, passes garner a lot of typeface! Passes into each atoll vary greatly. Some are wide and straight while others are angled or have dog-leg turns. Some are pretty short but others are much longer. My estimate is that the passes range from less than .2 miles to over .75 miles (321 – 2,308 meters). Not all passes are actually navigable, so sailors cannot assume that any opening into an atoll is an entrance.
Once a navigable pass is found, the state of tide within the pass must be considered before attempting to enter. Diurnal tides empty or fill an atoll every six hours. To add a bit of perspective about tides within a pass, consider that the lagoon of an atoll can be miles in length and width.
Let’s imagine a perfectly round atoll that has a diameter of 10 miles. A two foot tide change would displace 585,366,279 gallons of water; but it is hard to relate to that number. Instead consider that an olympic sized pool holds 660,000 gallons of water. That means that four times a day, at each tide change of two feet, our imaginary atoll moves the same volume of water as 887 olympic sized pools through a pass(es). That is a LOT of water.
When the tide in the pass is outgoing, or exiting a pass, there are usually choppy, abrupt areas of water near the outward end of the pass. When the tide is strong and collides with incoming ocean swell, one can encounter short, sharp waves as well as eddies that bounce a boat one way or another. If the current is incoming, often the inside portion of the pass has the short, steep waves where the incoming tide is meeting the waters of the atoll.
There are tide charts and applications for predicting when tide will be ebbing or flowing in specific places. One such tool is called “The Guestimator” – the name doesn’t inspire great confidence! We have read many accounts of the inaccuracy of all of the tide estimation tools. In our opinion, the best way to determine the state of a pass is to check the nearest tide chart and wave report, then approach the pass and observe the state of the sea at the entrance and inside the pass. Your own eyes and a decent set of binoculars will definitely help you determine a good time to enter or exit an atoll.
Remember, atoll passes can have a lot of current, the highest current we have encountered so far is about 5 knots, though I have read of currents up to 8 knots.
If possible, the best time to enter or exit an atoll is at slack tide; when the tide is in transition and doesn’t create a noticeable current in either direction.
Passes funnel water into a narrowing and shallowing area, so in addition to tides, we pay close attention to ocean swell direction. Extra caution is necessary when swells are rolling directly into a pass. Whether we are leaving or entering a pass, we do not want to be surprised by incoming ocean waves.
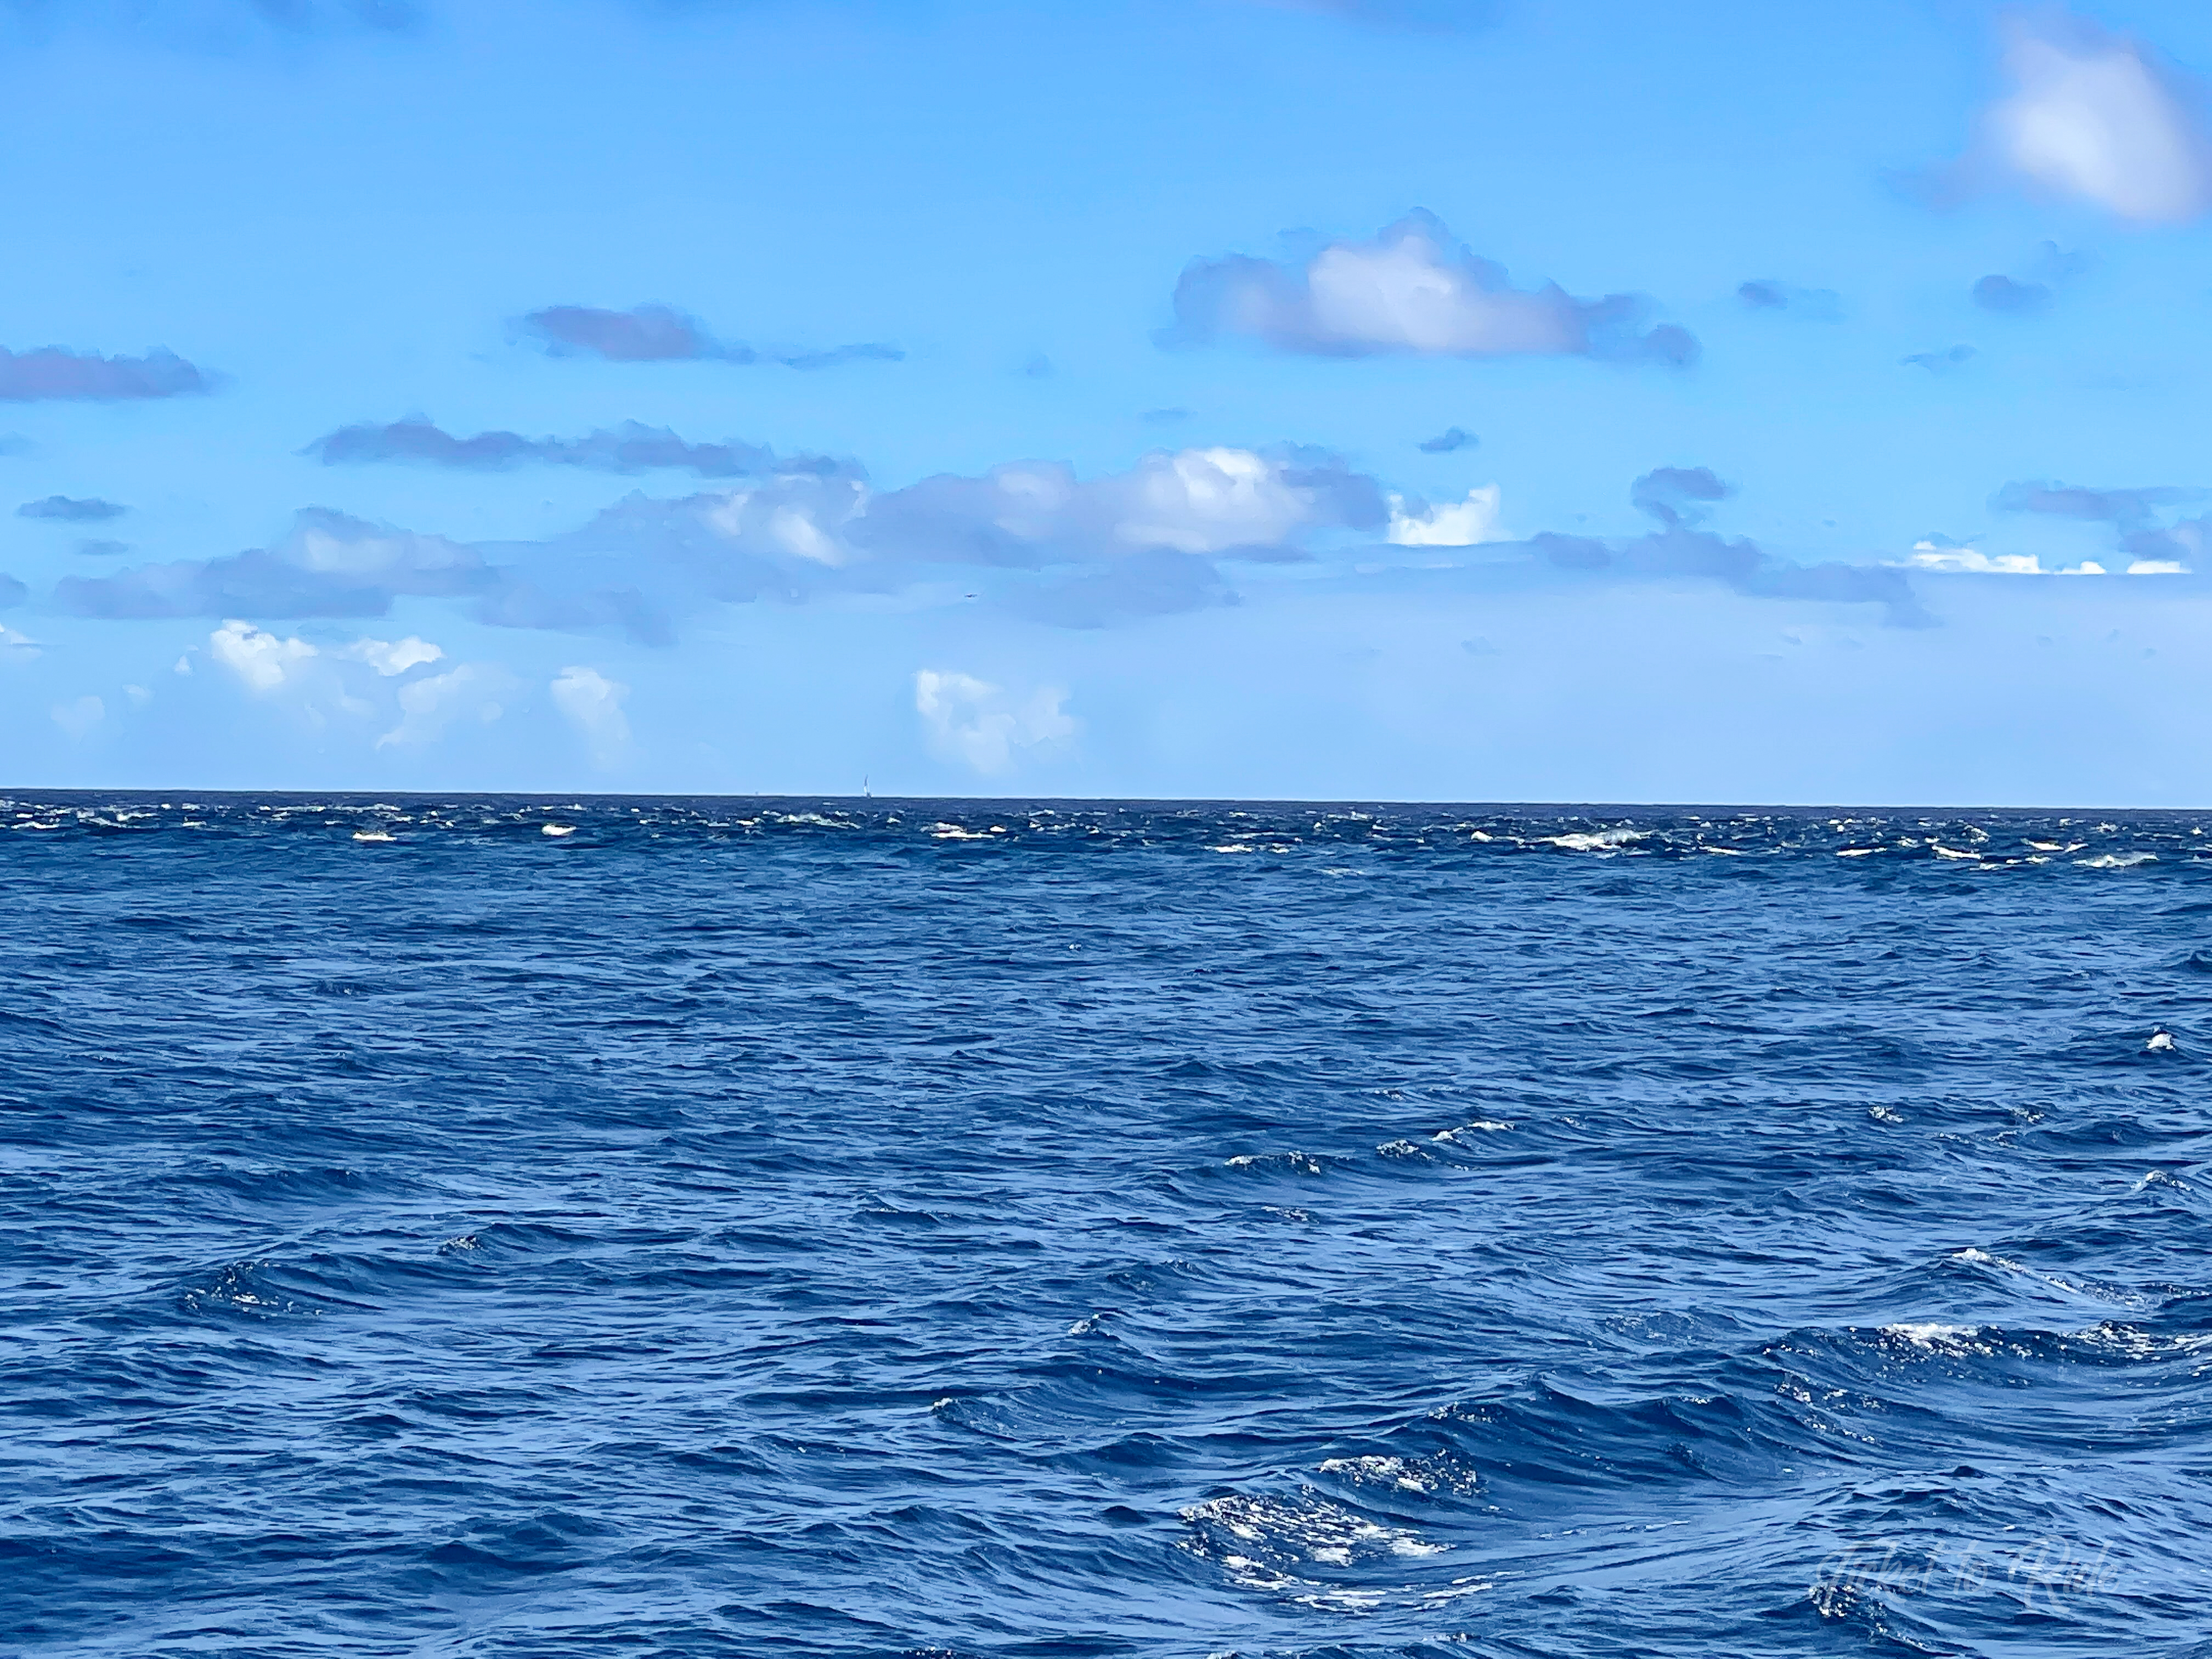
We have spent a few hours fishing the outside of an atoll while we wait for the conditions of a pass to become favorable. It is better to wait outside a pass for proper waves and tides rather than force your way in and create a dangerous situation.
Fortunately, Ticket to Ride has two 57hp engines that are in excellent condition, and therefore have been very reliable. Those who sail on boats with less powerful engines or less reliable engines will need to sail through the passes or wait for slack tide when they will have easier water to navigate.

Side note; although the passes can be challenging and require good timing and attention, they are also filled with sea life and are excellent places to snorkel or scuba dive during slack tide or an incoming tide. We have seen tons of beautiful fish, coral, sharks and manta rays when diving or snorkeling the passes.
TRAVERSING ATOLLS: All atolls are not made equally. Some are very large and others are very small. Some have towns with regular supply ships arriving weekly and others have no residents, no town and no supplies. But all of them have coral or rock areas that can cause damage to rudders, keels, dagger boards or any other part of the boat they encounter.
The water in the Tuamotos is beautiful, but it isn’t always possible to see the floor of an atoll. Visibility may be poor because the sun is causing glare on the water instead of shining into the depths or wind and waves have stirred up sand under the water. The atoll could be 100+ feet deep and a bommie can suddenly tower up to just a few feet below the water surface. Or perhaps the wind and waves are high and you cannot clearly read the water on the day you are traveling.

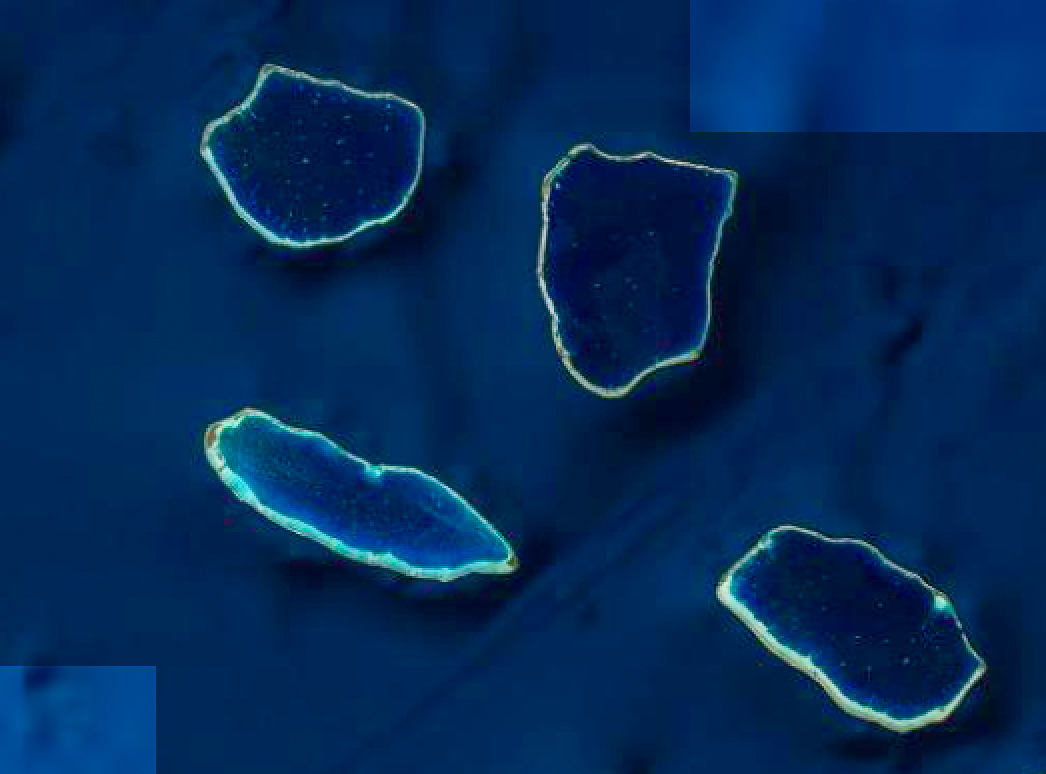
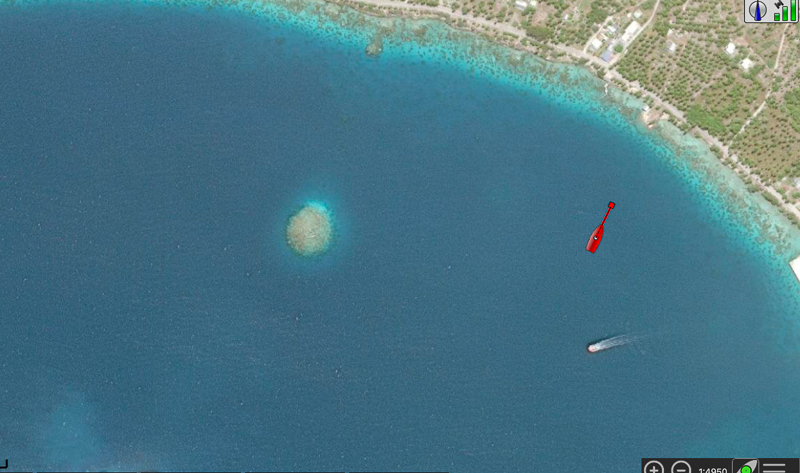
Our solution is to use satellite imaging overlays that show where our boat is and what is hiding under the water surface. We owe huge thanks to Bruce Balan of s/v Migration for his countless hours of work putting together charts for just this purpose. Bruce stitched together images for thousands and thousands of miles of sailing grounds with three different satellite photo sources overlaying the charts. ALL of this amazing information is available for free or with a donation at The Chart Locker.
Anyone can access and download these charts. We have downloaded all of The Chart Locker charts for French Polynesia and we literally navigate within the atolls using these satellite photograph overlays.

On Ticket to Ride, when traversing an atoll, we have one person on deck watching the water and one person at the indoor helm station studying the satellite images. We have TTR on autopilot so the person on deck or the person inside is able to adjust the course of TTR based on the chart or on our vision. Usually the person with the chart has a much better idea of any impediments from below. The person on deck can identify surface objects like other boats, debris, pearl floats or fishing buoys.
Traversing the atolls can be extremely stressful, but these charts make them more manageable, much less stressful and safer. Using these satellite overlays gives us “sight” where without them we were moving blindly through the water.
By the way, we also use these satellite images to assess every pass before we enter or exit it. The satellite images cannot tell us the current state of the water flow, but they can tell us the shape of the pass and where the deep, clean water lies.
Another added bonus is using these charts to scope out anchorage spots long before we decide where to drop the hook. Having the ability to look at the ocean floor for potential anchor spots opens up many more places to anchor safely and without damaging coral.
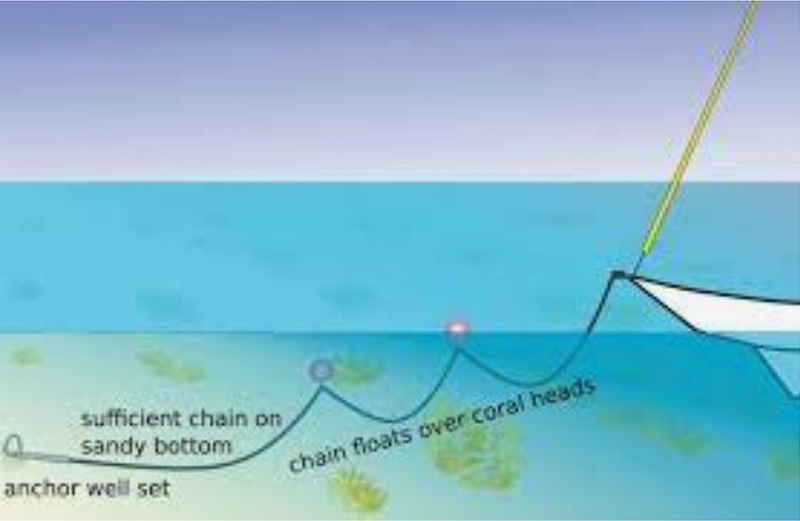
FLOATING ANCHOR CHAIN? Who ever heard of floating anchor chain?! Isn’t that an oxymoron? Nope. We are not talking about chain that floats, we are talking about adding buoys to our chain to suspend the chain in the water off of the ocean floor.
The purpose of floating your chain is twofold: 1. Floating the chain prevents it from hitting and damaging coral heads that are growing in an anchorage. 2. On light wind days, a boat can swing and twist in different directions and the anchor chain can become wrapped around rock or coral. When the chain is floated, the air filled buoys suspend the chain in the water high enough to prevent the chain from becoming entangled in the rocks or coral.

Chains that are wrapped around bommies harm the bommies and create a big challenge for the boater. It is difficult to maneuver a boat around rocks to untangle it, especially in high winds or if you must avoid other anchored boats or additional hazards. It is also difficult for a swimmer to dive to the chain then lift the chain to untangle it from the rock or coral. A scuba tank may be needed if the wrapped rock is deep or the chain is hard to disentangle.
It is much better to deploy floats, preserve the coral and avoid chain entanglements.
Deploying the floats requires a person to attach the buoys as the anchor chain is being released. This is a pretty simple action on most monohulls and many catamarans where one can easily reach forward on the bow and attach the float to the chain as it pays out over the anchor roller.
On Ticket to Ride, the anchor chain is encased in the longeron and drops into the water from under the crossbeam and trampoline. While we like this feature for esthetics and cleanliness, it does make deploying the buoys a challenge. We have created a manageable system that works for us.
Regardless of how the buoys are attached, we find that adding the first floats at one to two times the water depth is a good distance from the anchor to allow the hook to bite but the chain to be suspended. The next two sets of buoys are added at intervals of about 25 feet. Then we add the anchor bridle as usual.
This method of anchoring is a little challenging and it definitely took us a few iterations to refine the process, but now it is working well. Even though deploying the floats adds time and difficulty, it is worthwhile. Our hope is to leave the places we visit in better condition than we found them or at least to cause no harm. Floating our anchor chain preserves the beauty of the area, demonstrates respect to local residents and leaves the anchorage in good condition for the next person who visits.


Of course French Polynesia is unique and has many additional differences from other places we have sailed. We are learning about things such as weather in the southern hemisphere, traditions of local residents, species of aquatic life we haven’t seen before and more. All of these are adding knowledge to our cruising tool quiver, however, the three points covered here are unique and will immediately affect anyone who wants to sail in the atolls of the Tuamotos.
Thanks for stopping by to read our blog. I hope you found this information interesting and helpful. Feel free to ask questions in the comments and we will do our best to answer them. Wishing you good health and fun adventures.

Wow. Impressive presentation MG. Thx.
LikeLiked by 1 person
Thank you! We are lucky to see these places. Give my best to Kathy.
LikeLike
Just found your blog and considering heading that direction this spring. We have a similar problem with setting the floats to our anchor chain as you mentioned. Do you have any video, photos or other that you could share about your process? Cheers, Jeff on Sea Larks (friends with Jeff Marks btw)
LikeLiked by 1 person
Hi Jeff, thanks for the comment.
It sounds like Jeff and Melissa just finished an excellent sail to Antigua.
Wow, we don’t have any pics or videos as we are putting the floats on the chain, but here are a few comments:
1. We put the first float on when we are close to our chosen anchor spot but just before we move into position of our “sandy drop spot.”
2. We have learned to leave the lines attached to the chain and monitor them going through the windless. This way we only have to attach the carabiner on the float to the line on the chain.
3. We made our attachment lines out of 3mm dyneema with eye splices on both ends.
There is an opening in the center of our trampoline just aft of the cross beam. That is where Frank reaches down and attaches the floats.
I hope this helps. Maybe we will see you here in the Pacific.
MaryGrace
LikeLike